Let’s Build A Slack Extension
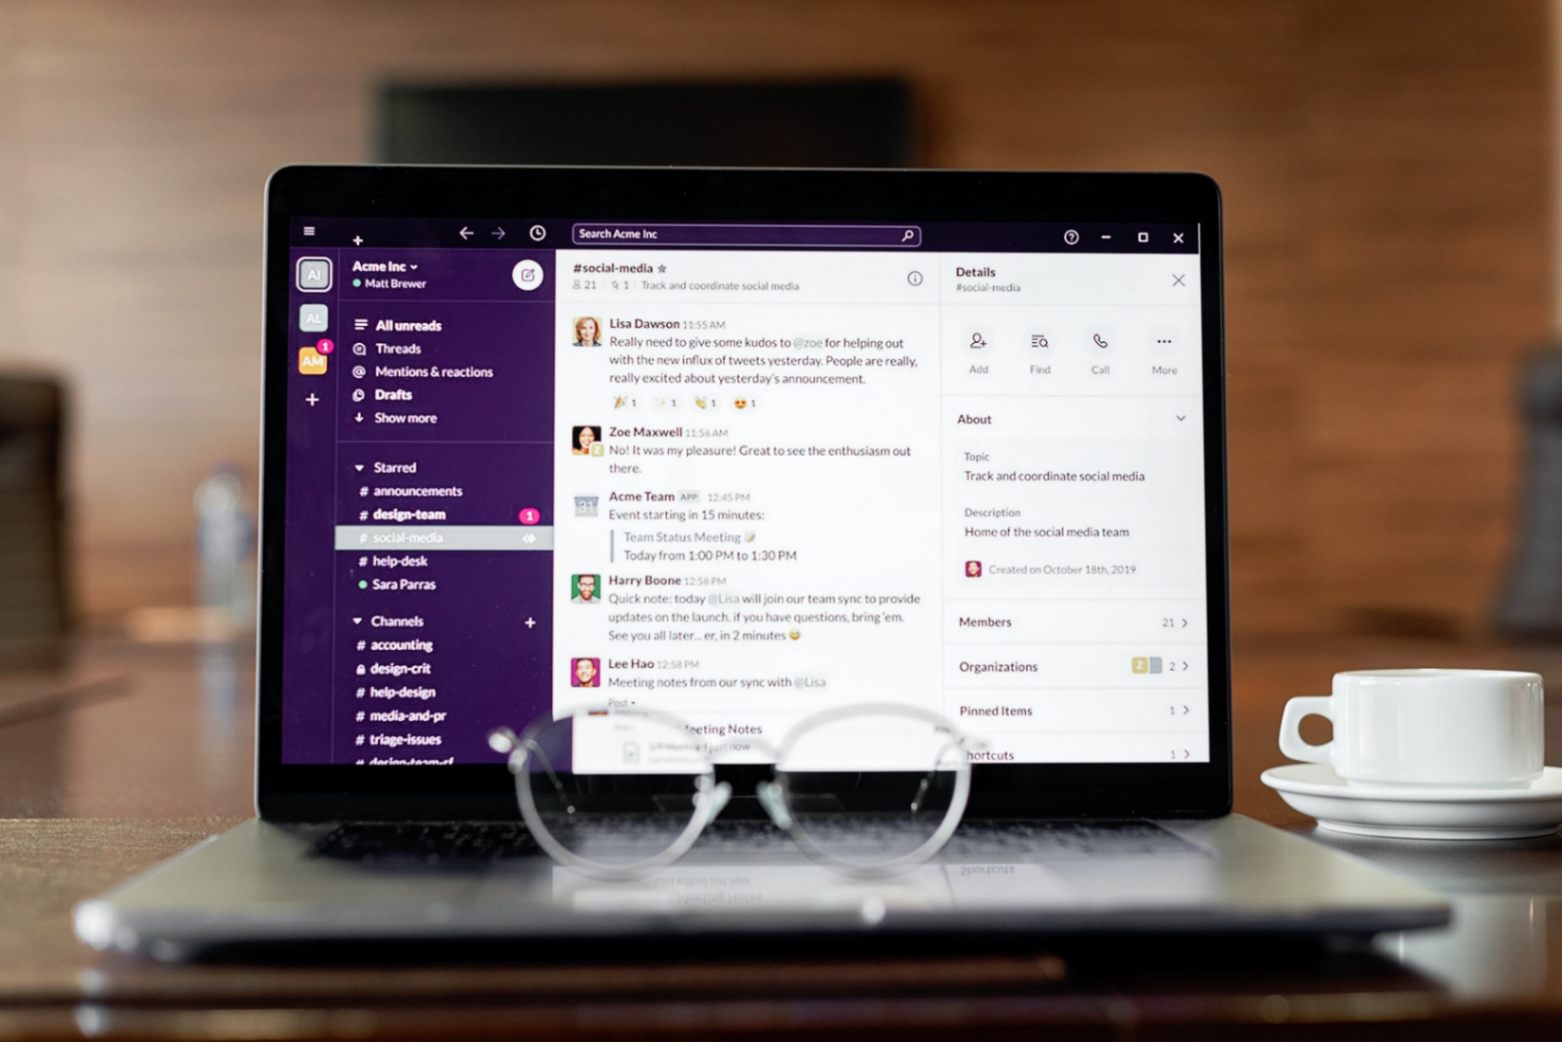
Slack is a very powerful tool for any team of any size, used and loved by everyone for its simplicity. What makes Slack even more special are its extensions, apps that you can attach to your workspace and extend the functionality of Slack to achieve anything you can imagine.
This post focuses on how you can build a very simple extension for your Slack Workspace. We are going to do things in this post:
- Ability to send a message to a Slack channel whenever your app crashes (I’m going to use React to show this, but you can use whichever framework or language you want to.)
- The extension will send a nice little reply (Inside the thread) to a message sent on a Slack Channel, tagging the person that sent the message.
Pre-Requisites
Before we get started, there are a few things you will need a few things.
- A slack workspace. Go to Slack to set it up.
- Some knowledge of JavaScript, we’ll be using JavaScript, but the Slack Extension we will build is language and framework agnostic since it just uses a few URLs for communication.
- Some knowledge of making and receiving network requests using a library like
axios. - Node.js and Express.js for the webserver we will listen to the Slack webhooks on.
Setting Up The Slack Extension
-
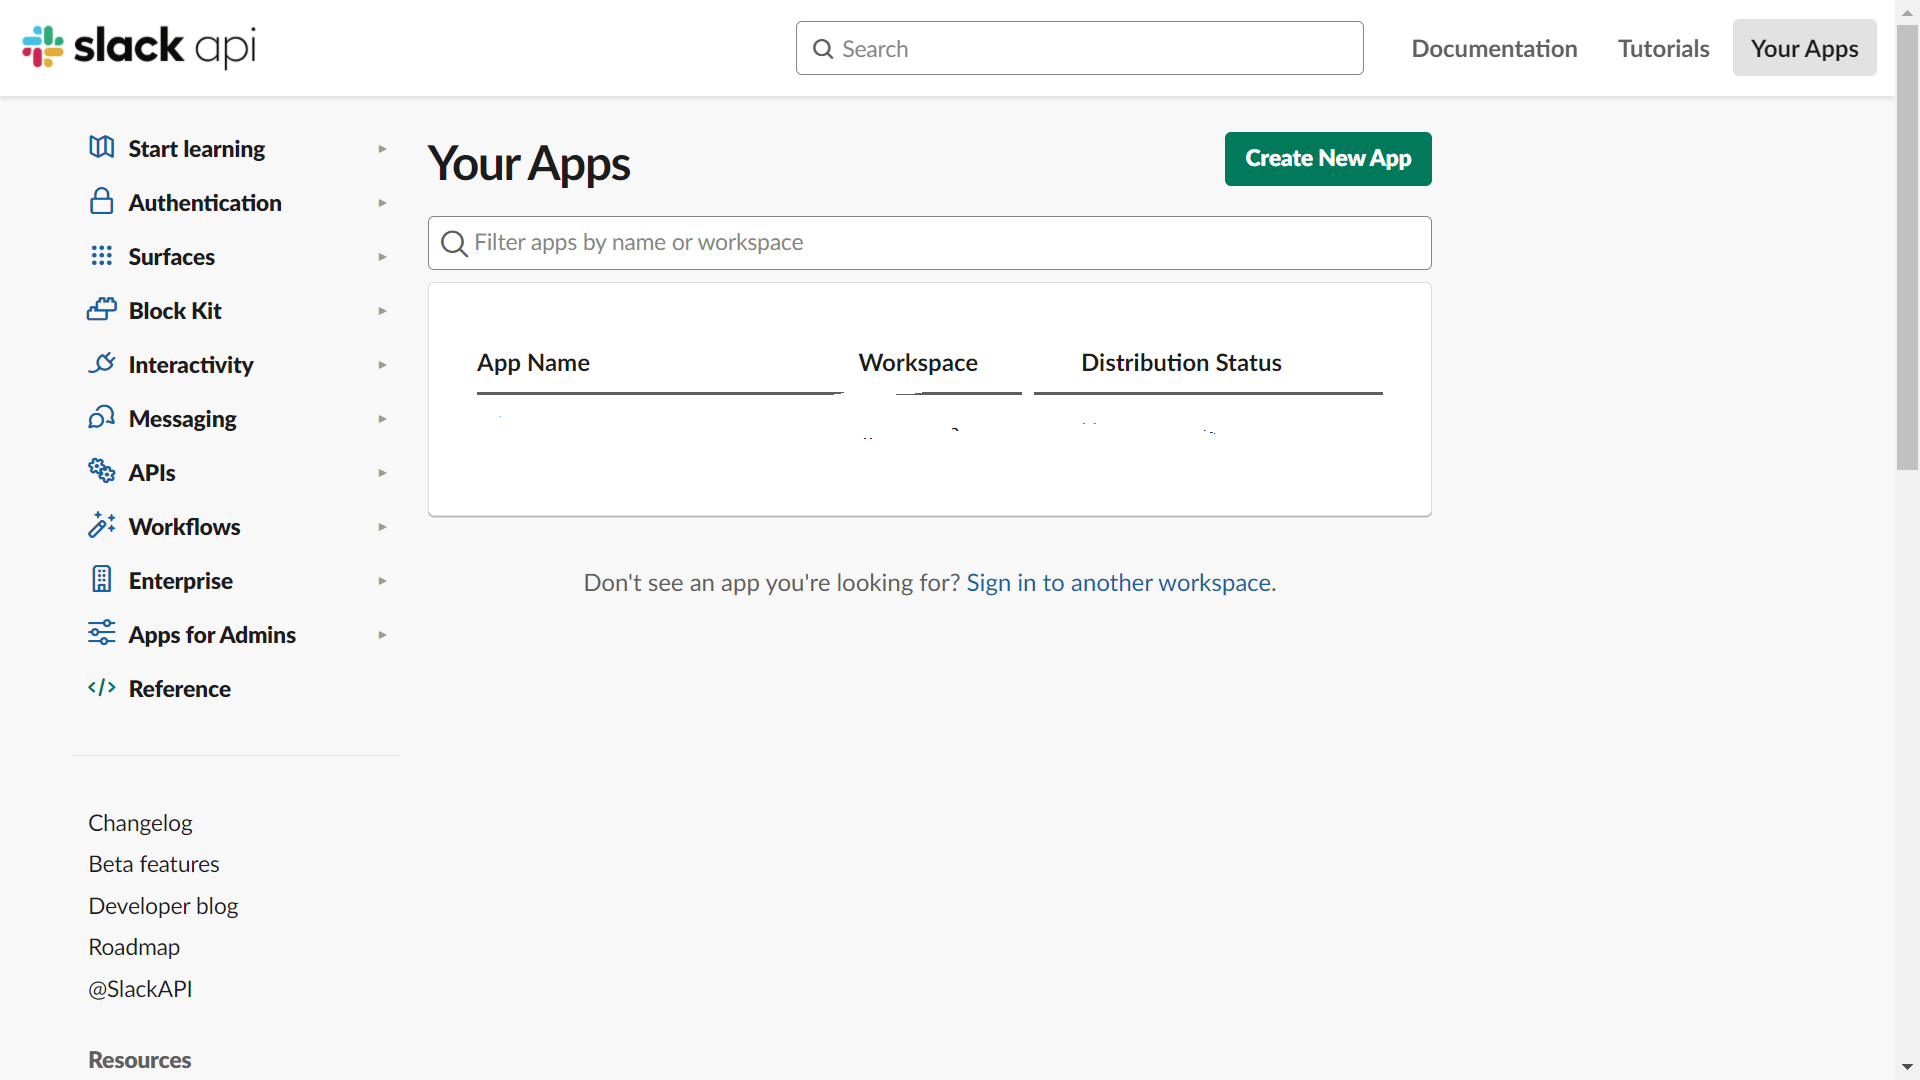
Setting up our extension is pretty simple, go to api.slack.com, and go to Your Apps.
-
Enter the extension name and the Slack Workspace you want the extension to work with.

Now that we have our Slack App Setup, let’s proceed to build the use cases I mentioned above.
1. Notify Slack Channel on New Error / App Crash
- Once the extension is created, for the first part of this post, all we need is the incoming webhook URL. So go to the created app and click on Features -> Incoming Webhooks.
- Create a new webhook URL, save this for the upcoming part of the post. This webhook allows you to send a message to an associated Slack Channel in your workspace.
For this, I’m going to be using React, you can use any framework or language to detect app crashes (Run-Time Exceptions) in your app. React has a nice error boundary feature that lets you catch any run-time exceptions that occur in your app.
Note: I don’t recommend putting your Slack Webhook Endpoint in your client-side app directly because that exposes you to the potential issue of someone running a curl script and bombarding your channel with unending messages.
This is just for demonstration.
/* ErrorBoundary.jsx */
import React from "react";
import axios from 'axios';

const SLACK_WEBHOOK = process.env.REACT_APP_SLACK_WEBHOOK;

class AppErrorBoundary extends React.Component {
  constructor(props) {
    super(props);
    this.state = { errorMessage: "" };
  }

  componentDidCatch(error, errorInfo) {
    //...Perform some checks
    let errorMessage = error.stack || error.toString();
    this.setState({
      errorMessage,
    });

    // Sending the error message to slack.
    axios.post(SLACK_WEBHOOK, {
         text: `Error detected in app:\n\`\`\`${errorMessage}\`\`\``, // Markdown
     });
  }

  render() {
    return this.state.errorMessage ? (
      <>
           {/* Render your error component here. Tell the user the app crashed. */}
      </>
    ) : (
      this.props.children
    );
  }
}

export default AppErrorBoundary;
Once you have the Error Boundary Setup, just wrap your App with it.
<AppErrorBoundary>
     <App />
</AppErrorBoundary>
2. Sending a Nice Reply to a new message in a channel as a thread
- For this part of this post (Replying to a new message), we will need a subscription to Events, events are actions that are performed inside a Slack Workspace, like the creation of a new channel, sending of a new message.
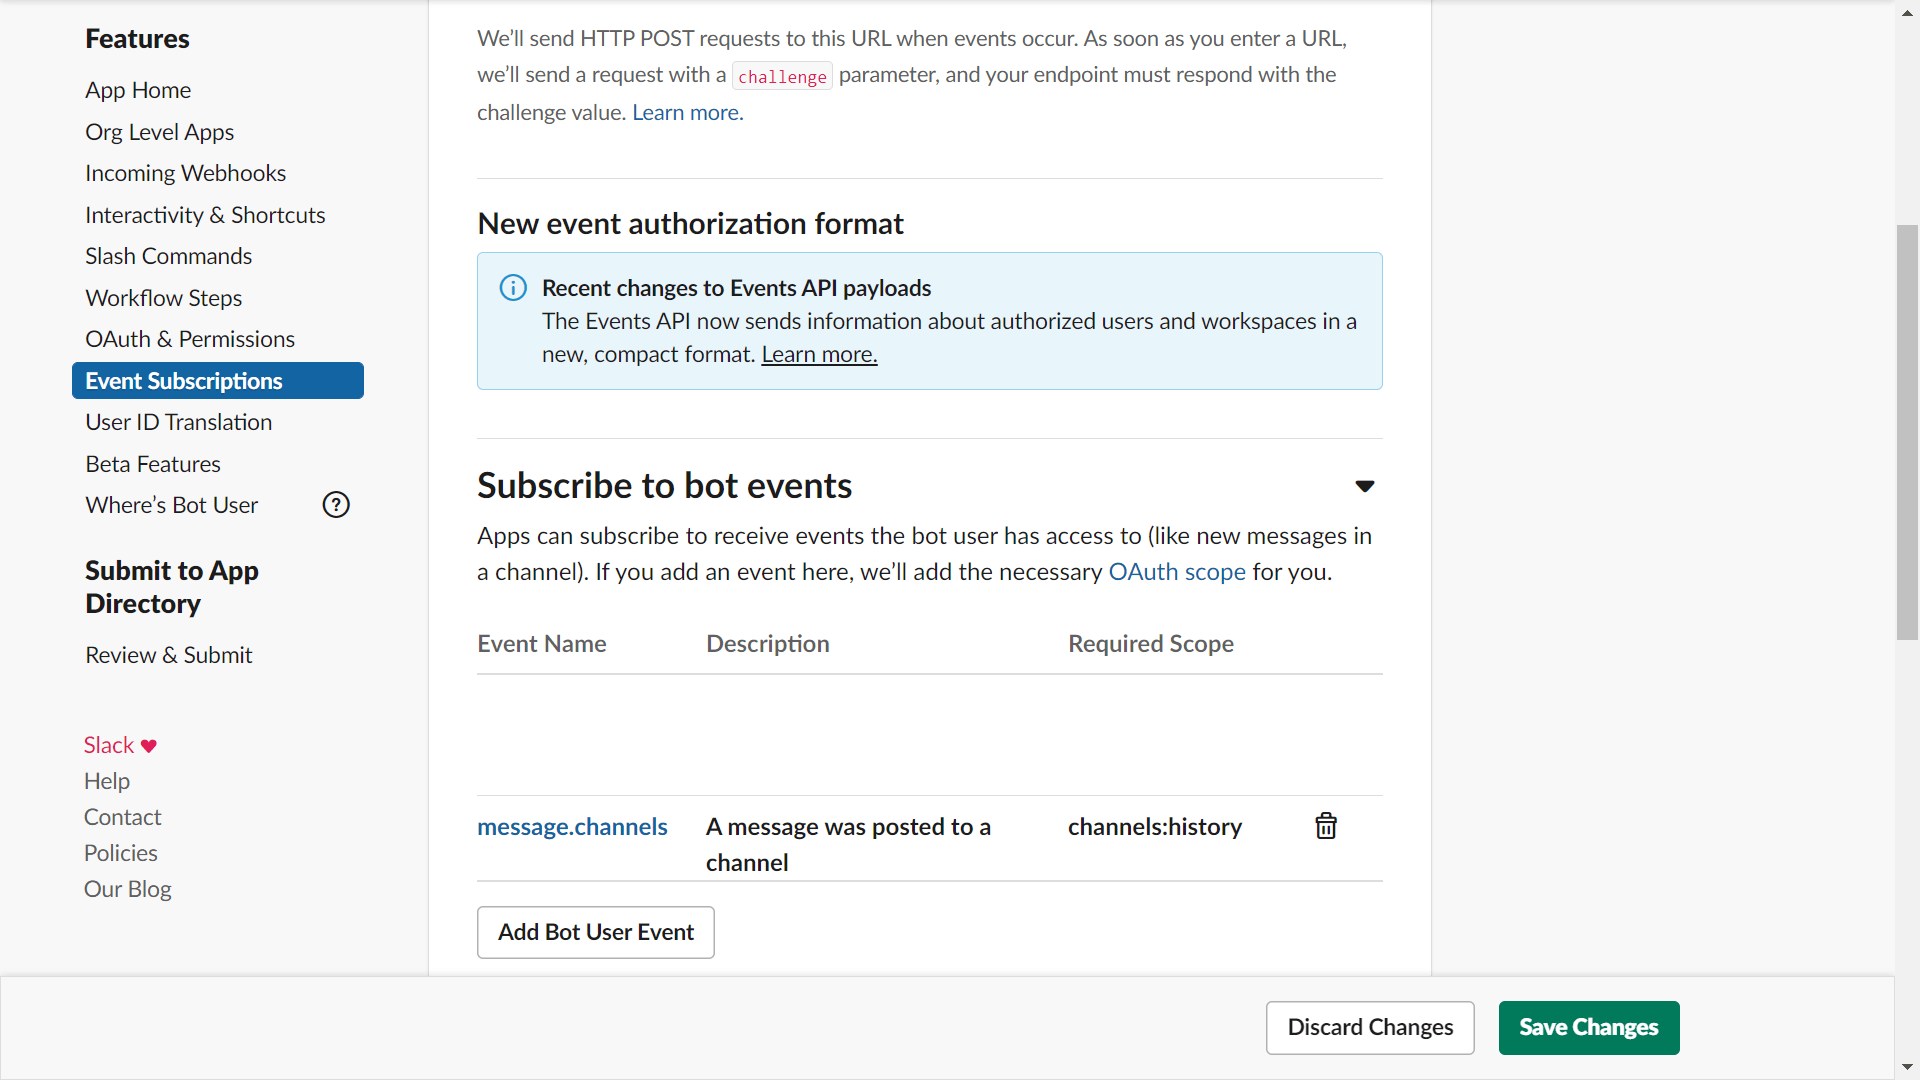
- Go to Features -> Event Subscriptions and click on Subscribe to Bot Events and select the message.channels event.
- Now, hold on for a moment and fire up your development environment, create a backend server, I am creating one using express, Check an example on setting up Express with Node.js.
- Fire up your local server and make it accessible to the public internet, I am using
ngrokto create a publicly accessible HTTPS URL that routes directly to my local server.npm i -g ngrok ngrok HTTP <PORT YOUR BACKEND SERVER IS RUNNING AT> - Install
axiosor any request-making library of your choice, and use the following structure to create an API route controller that Slack will ping on any new events. ```javascript const axios = require(“axios”);
app.post(“/slackEventListener”, (req, res) => { // app -> The express instance
// Process for sending messages back to a thread.
let webhookURL = “
return res.json({
challenge: req.body ? req.body.challenge : "", // Slack sends a 'challenge' parameter in its request body, you will have to send it back in the response.
}); }); ``` 6. Now that that's out of the way, you can set the Slack endpoint to the controller we created above. 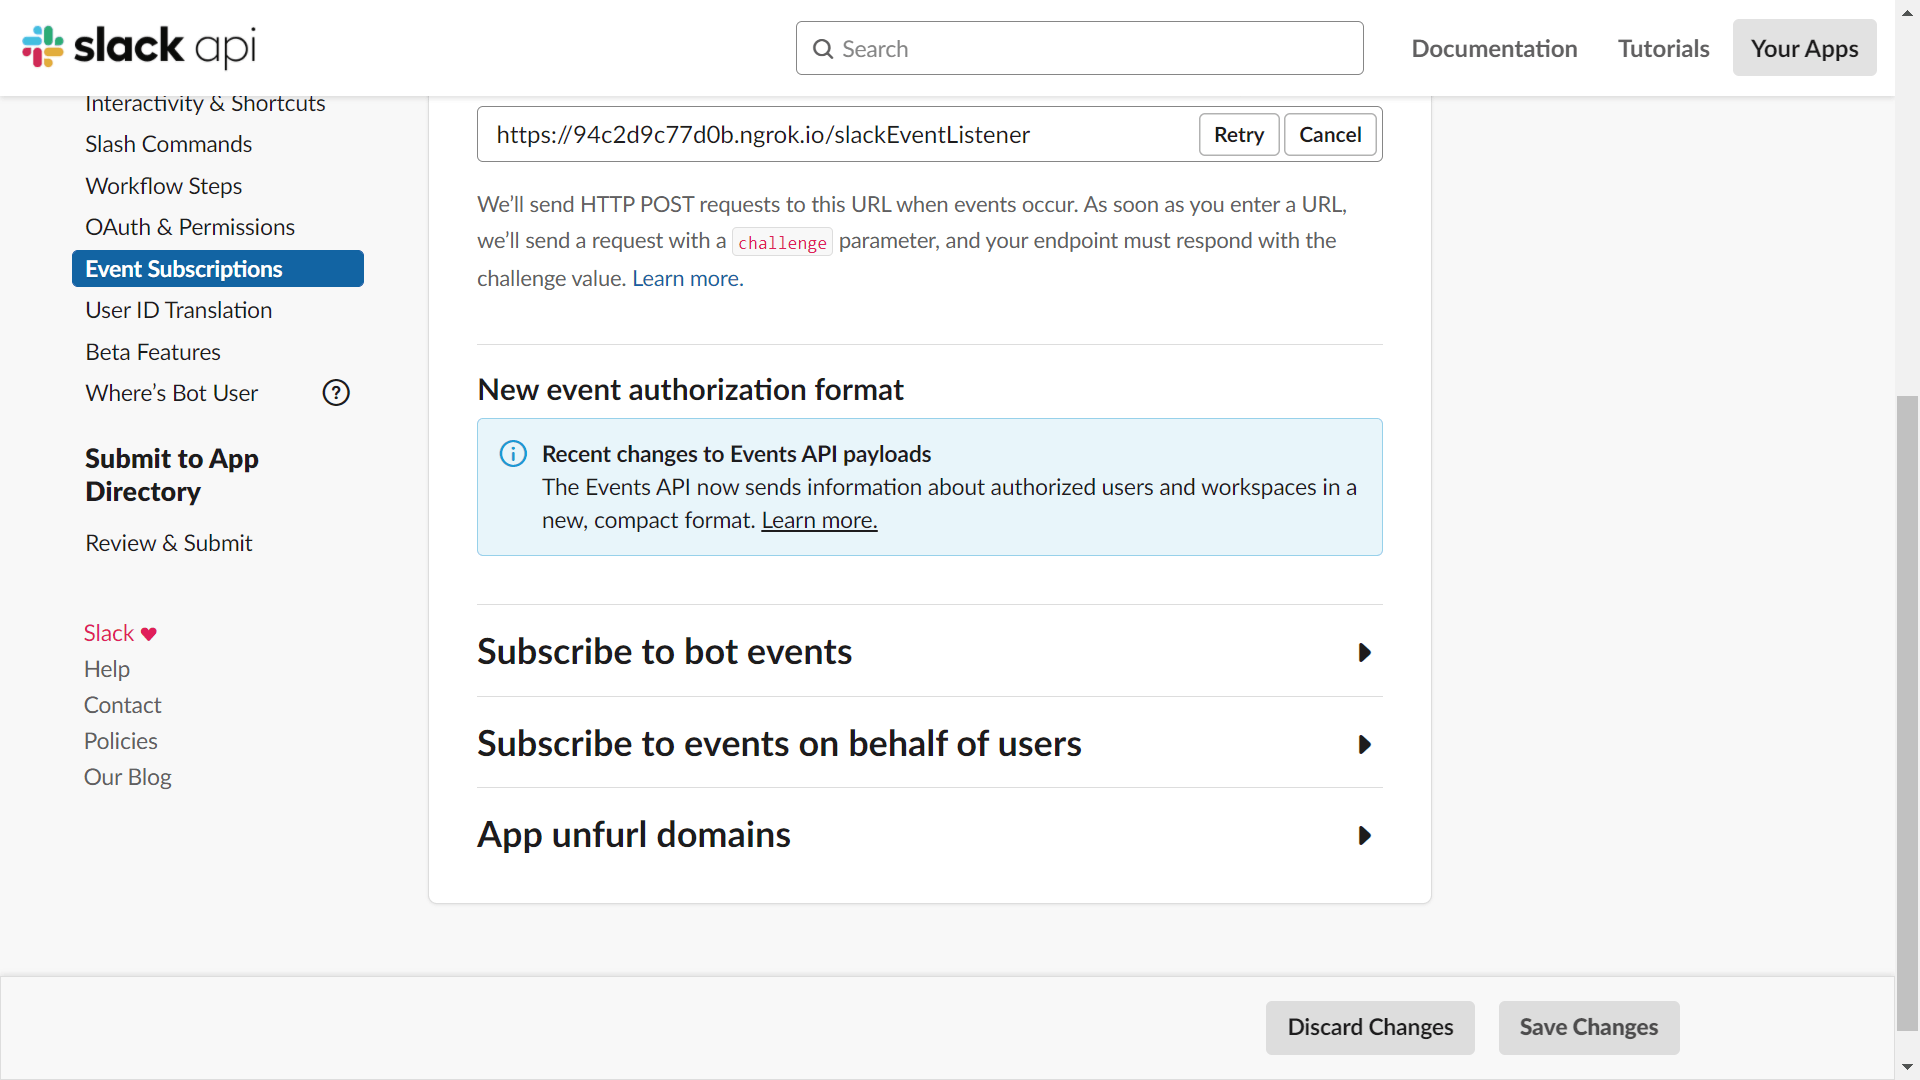 7. Save all the changes. 8. Try pinging your Slack channel with a message, your extension should reply in a moment. 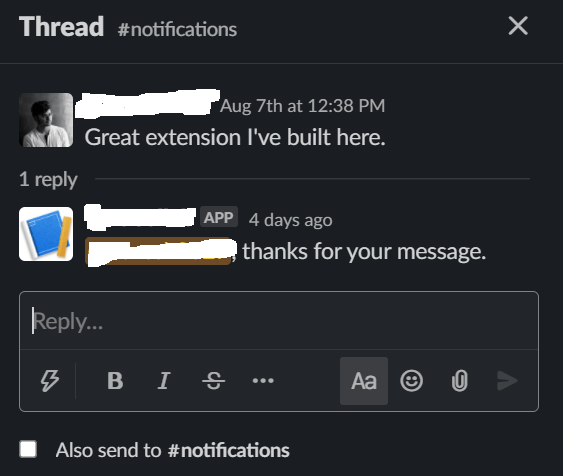
Congrats, if all of that worked for you, you now have a basic Slack extension up and running.
Try going wild with your extension, making it do everything from sending push notifications on new messages to automating tasks for you on sending messages to the channel in a certain format.
Of course, there are a lot more ways you can interact with the Extension, Google Calendar’s Slack extension has a nice UI to show you all your scheduled events for the day, it has a form to create an event and add it to your calendar.
The possibilities are endless, and I’ll surely cover extensions with UI and user interactions soon!